-
Home
- /
Blaze Grill Assembly Instructions
Step by step instructions for assembling your grill cart and grill head from Blaze Grills.
In addition to the standard steps of assembling the grill cart, we’ve run across some helpful tips and tricks for assembling that will improve your experience down the road.
Please note: These instructions, tips, and tricks are custom-created by BBQ Grill People and are not official instructions from Blaze Grills. We feel step-by-step instructions are necessary for these items and offer these to our customers to ease the process of assembling their grills.
01
UNPACKING AND PREPPING
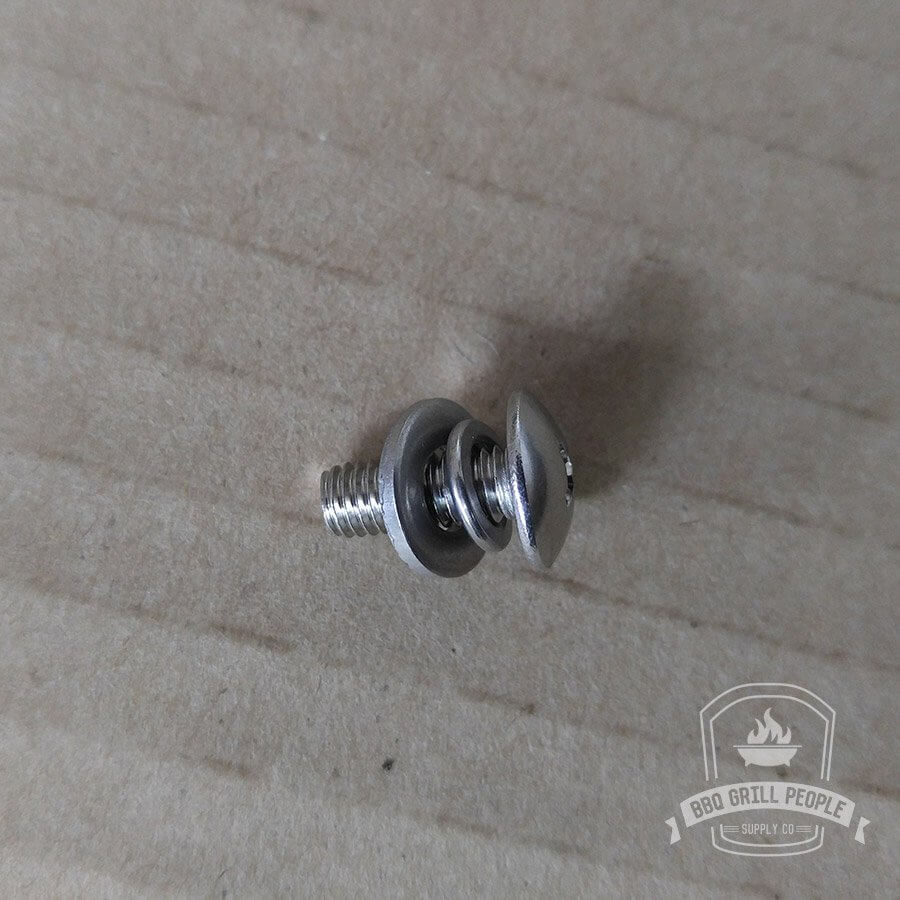 After removing all materials from their respective boxes, separate out your hardware. Take your locking nut and washer and assemble them as shown in the picture here. Each of these combos (16 total) will be used to secure the casters onto the base of the cart.

ASSEMBLE THE CASTERS
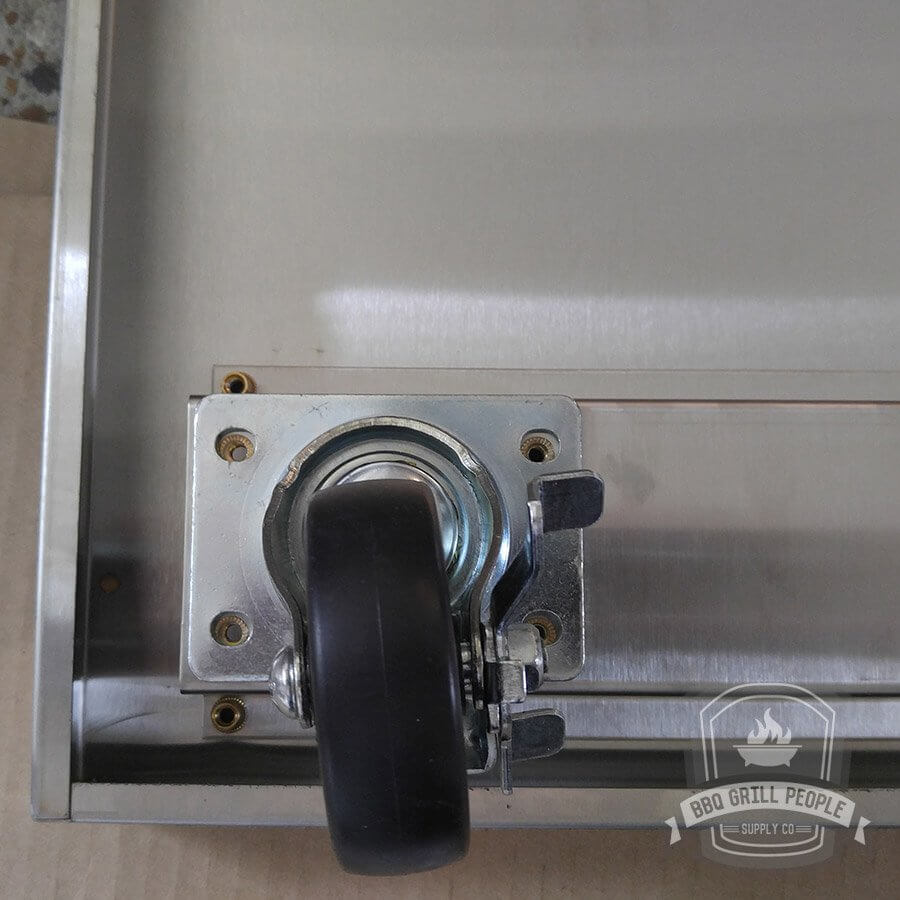 Turn the base of the cart upside down and line up each of the four casters with their bolt locations. Secure each caster with four of the bolt/locking nut/washer combos from the previous step.
02

03
SECURE TANK LOCK TO CART BOTTOM (PROPANE)
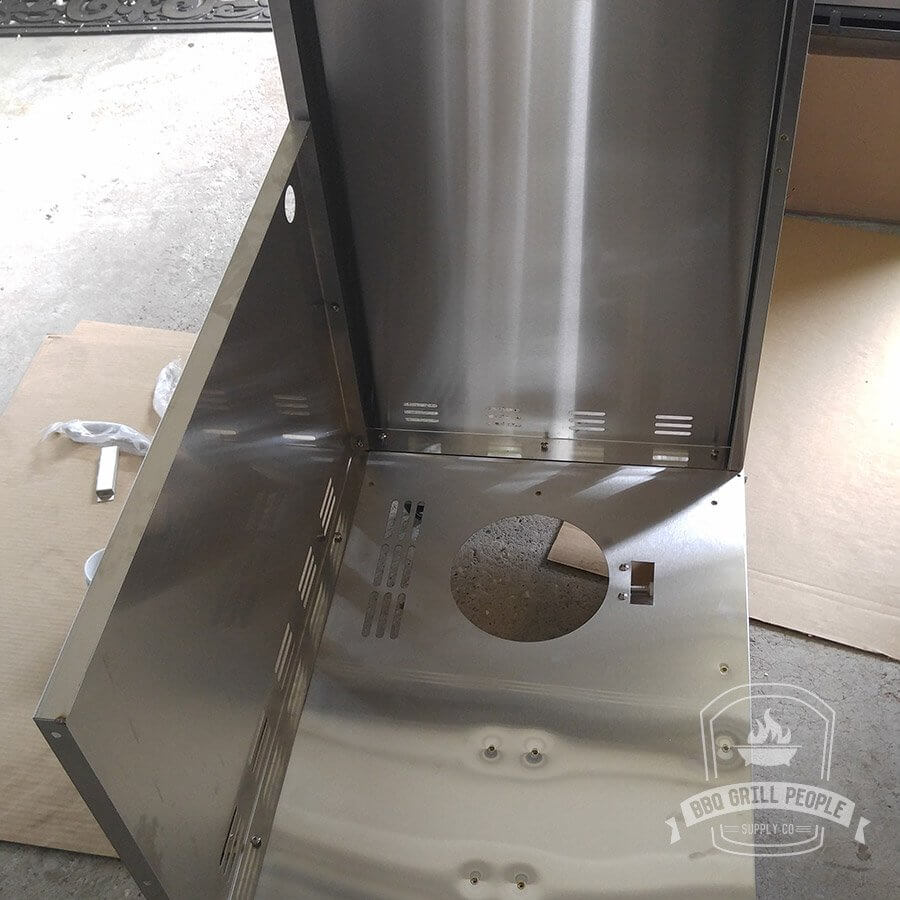
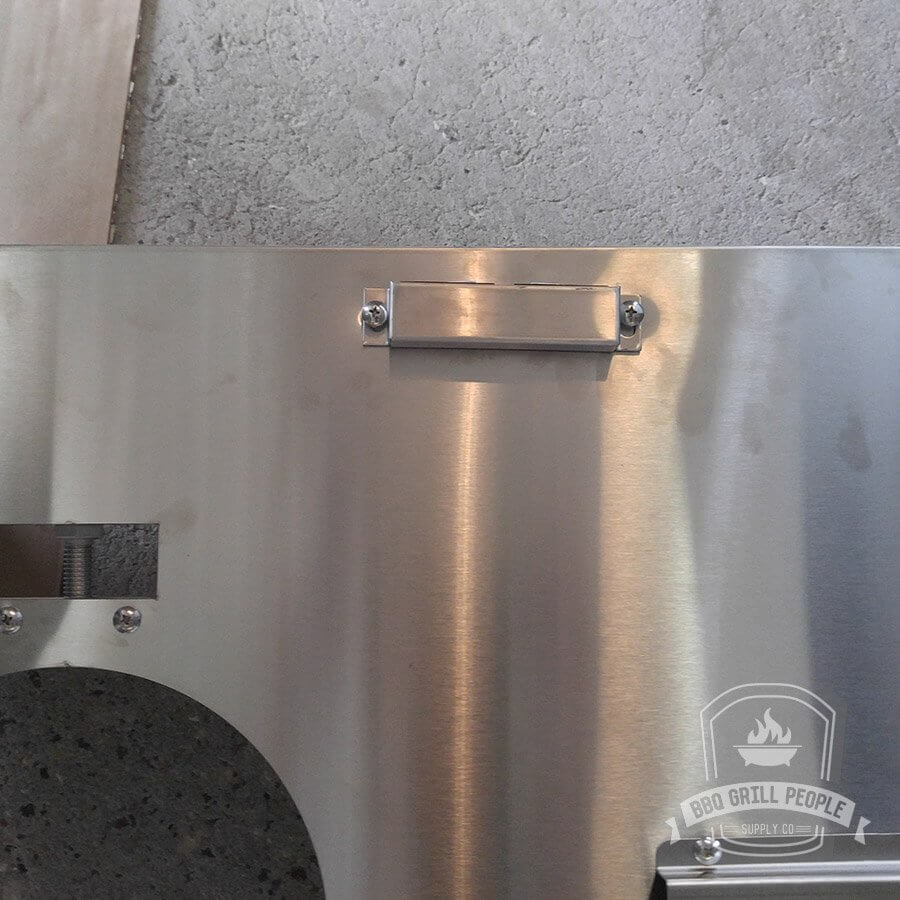
 Place the tank lock mechanism under the cart and bolt it from the top side to secure it. After securing it, retract its locking bolt all the way to ensure it doesn’t obstruct the propane tank when the tank is placed inside the cart.
SECURE SIDE WALL 1 TO CART BOTTOM
 Place either wall (interchangeable) onto the cart bottom, lining it up with the applicable bolt holes and secure it to the cart bottom.
04
05
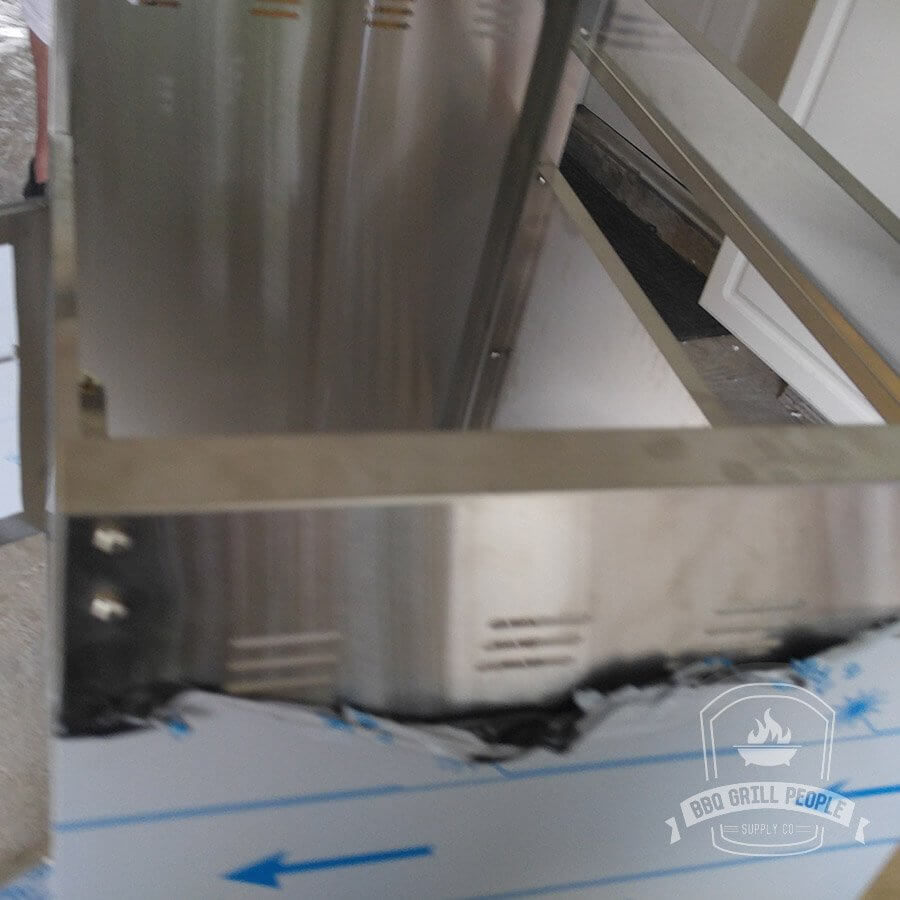
SECURE BACK WALL TO CART BOTTOM
 Place the back wall onto the cart bottom, lining it up with the applicable bolt holes and secure it to the cart bottom and the side wall from the previous step.
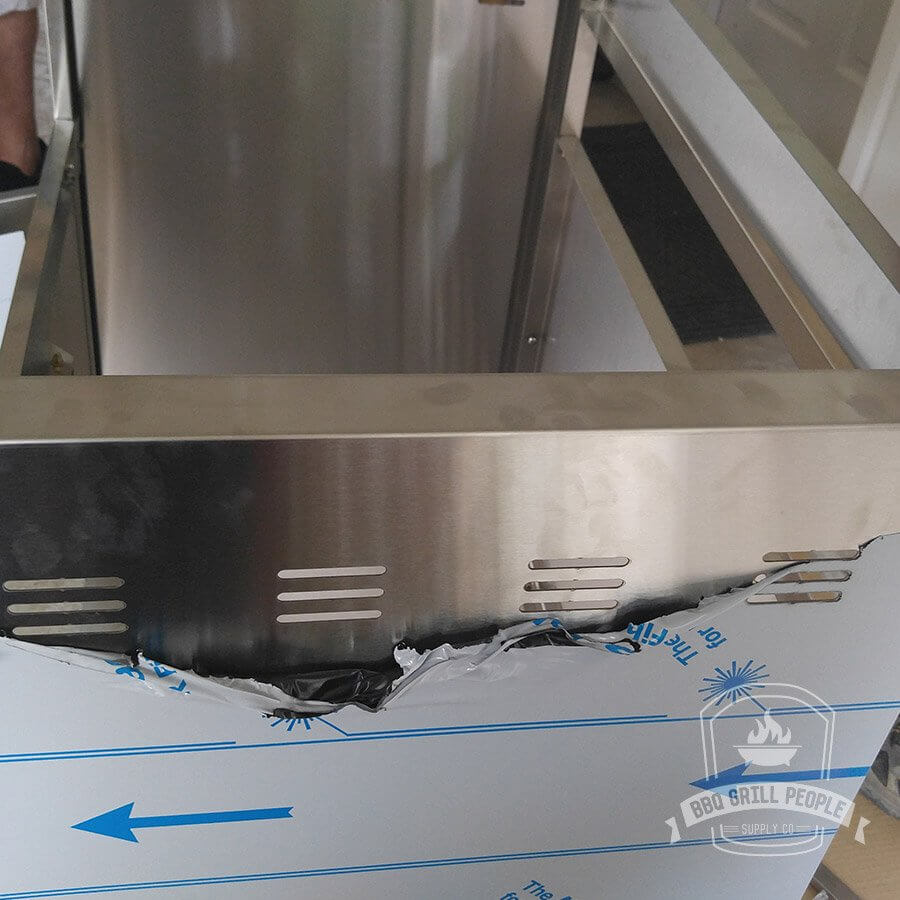
SECURE SIDE WALL 2 TO CART BOTTOM
 Place remaining wall onto the cart bottom, lining it up with the applicable bolt holes and secure it to the cart bottom and the back wall.
06
07
SECURE TOP BRACKET
 Place the top bracket in between the two side walls and secure it in place.
DOORS AND TOP BAR
 Place the peg on the bottom of one of the doors into the hole at the bottom of cart (door with paper towel holder goes on the left when facing the cart). Slide in the top bar fitting the peg on the top of the door onto the bar. While still loose, get the other door in place and tighten the bolts.
08
09
DOOR HANDLES MAGNET
 Bolt handles on to doors before installing locking magnet into place. Bolt door magnet into place with magnet facing towards the doors.
SIDE SHELVES
 Place all four bolts for one shelf half way into their holes. Place the the shelves over the bolts and slide shelf down onto the bolts. Tighten the bolts to lock the shelf in place.
10
11
REMOVE COTTER PINS FROM GRILL HEAD
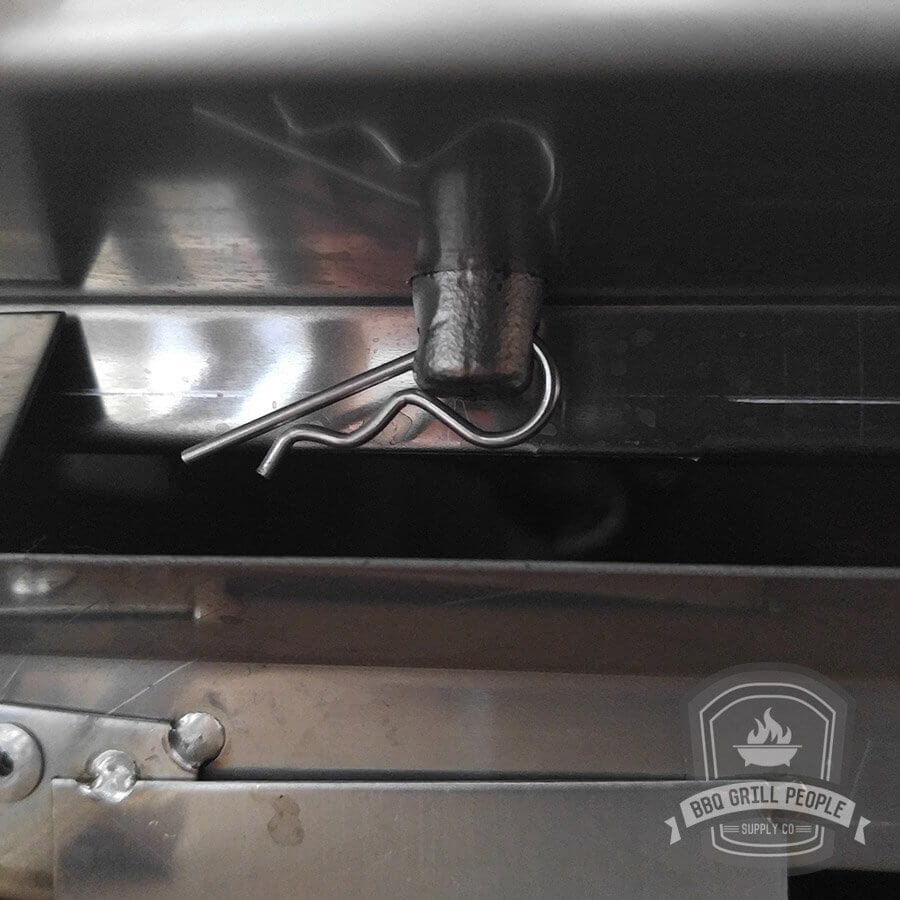 Before placing the grill head onto the cart, remove the cotter pins from behind the grill attached to each burner. These pins are only in place for shipping purposes. They’re not needed afterwards and must be removed to be able to remove the burners for cleaning.
TIGHTEN & DOUBLE CHECK ALL BOLTS
 Go through the cart assembly and double check that all bolts are properly tightened and cart is sturdy with no rattling before placing grill head onto it.
12
13
PLACE GRILL HEAD ONTO CART
 With assistance from another person, simply lift the grill head and place it onto the cart. After it’s in place, simply slide it back until it’s flush with the rear of the cart.
MODIFY GAS RAIL FOR EASY REMOVAL (OPTIONAL)
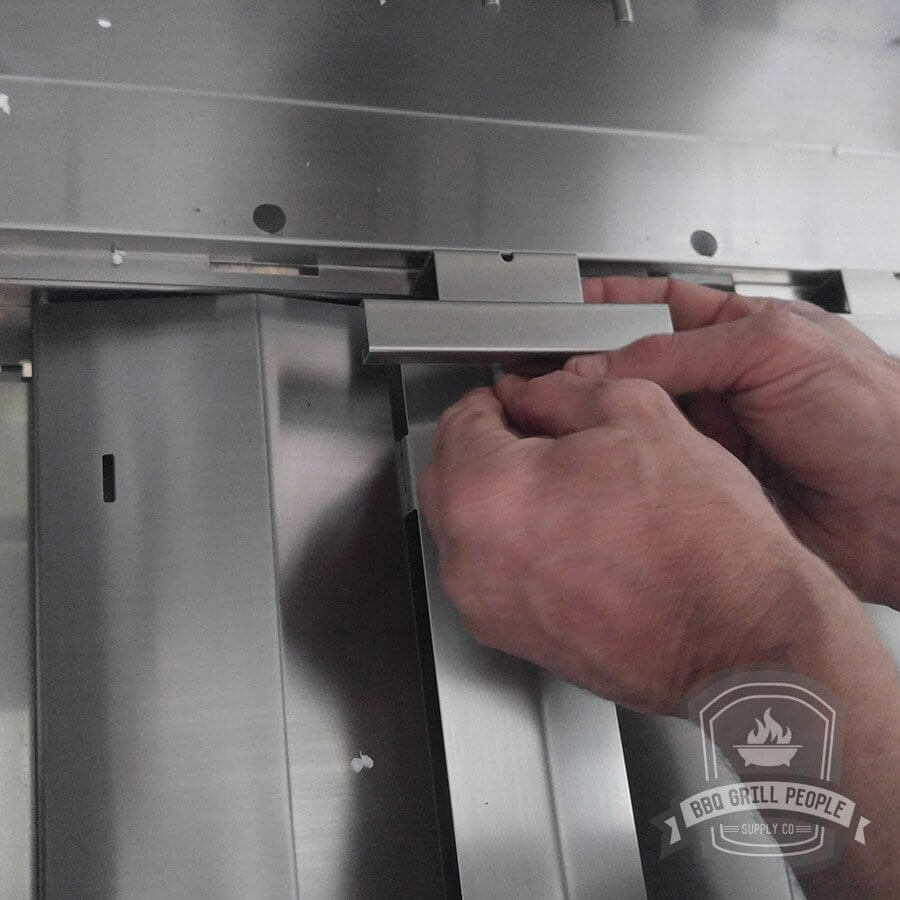 For installation of an Infrared Burner, the left-most gas rail must be removed before the Infrared Burner is put in place. These rails require an Allen Key to be removed. If you find this troublesome, a pair of tin snips can be used to remove the brace from the gas rail without affecting performance. This allows you to take the rail in and out without the need of an Allen Key.
14
15
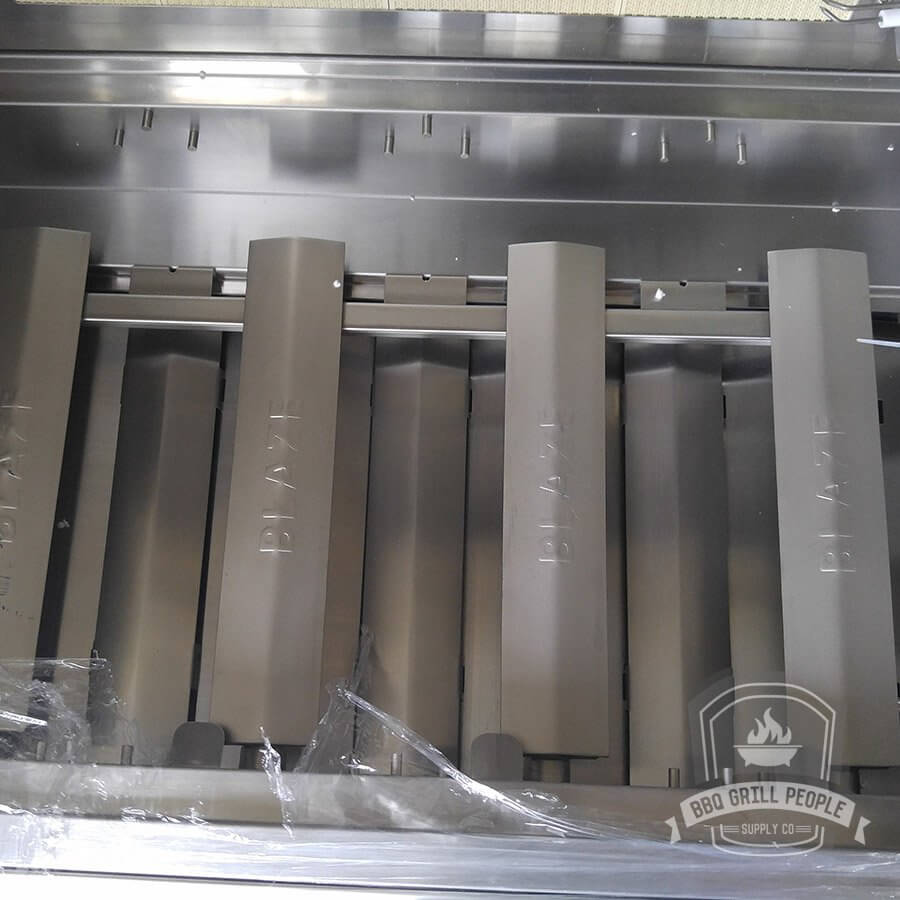
INSTALL INFRARED BURNER (OPTIONAL)
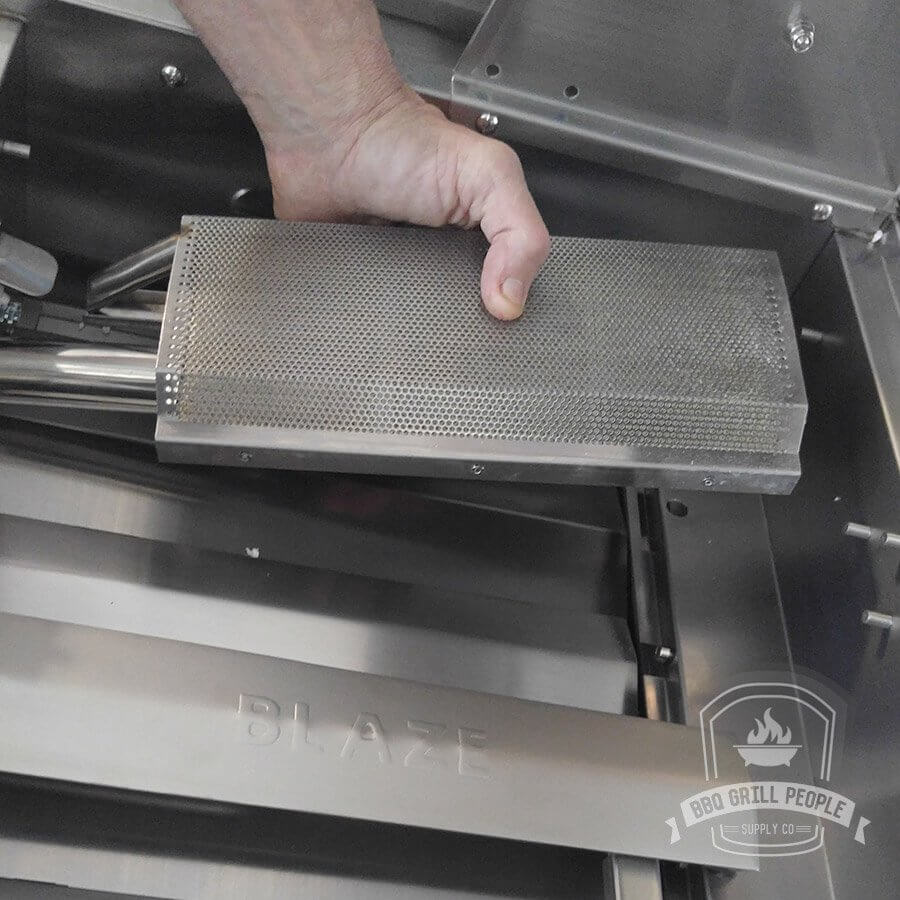 The Infrared Burner may only be used in place of the far left burner. Remove left-most burner, gas rail, and separator. Place the provided footer onto the end of the infrared burner and slide into place just as the previous burner was.
GRILL CART IS COMPLETE
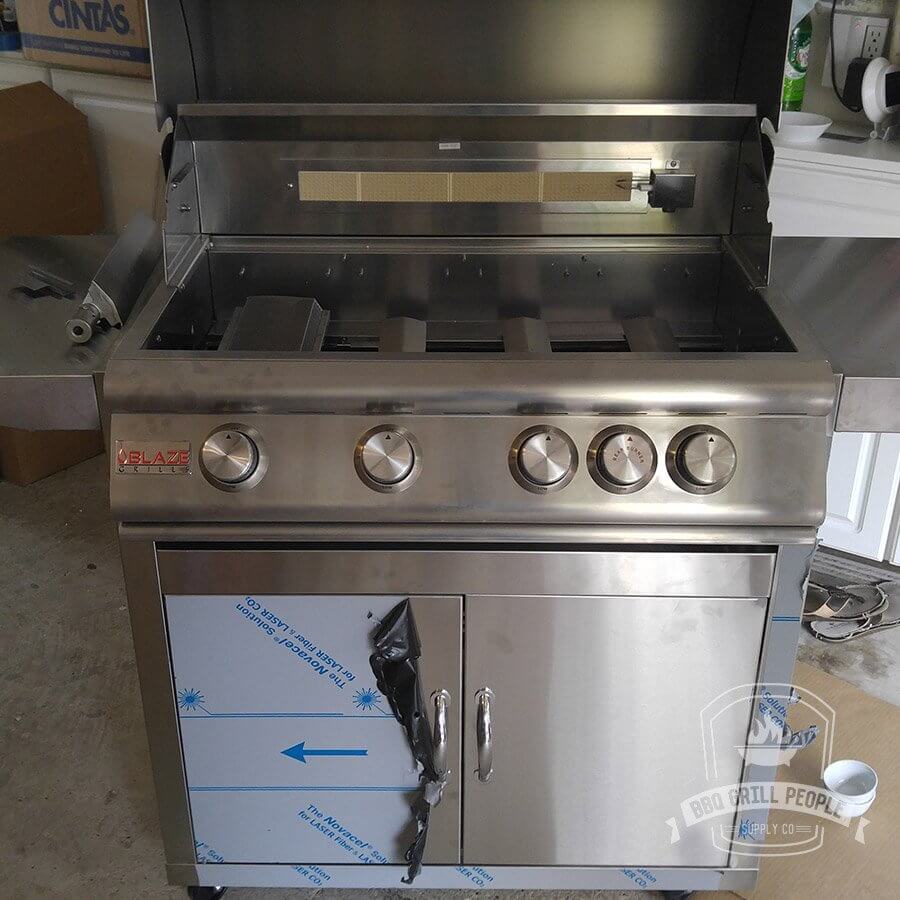 Your grill cart is now complete. If you own the optional infrared burner, you have the choice of using either the infrared or standard burner at any time simply by changing them out. At this time, it is advised to register your cart and grill head with Blaze to ensure your lifetime warranty is registered in your name.